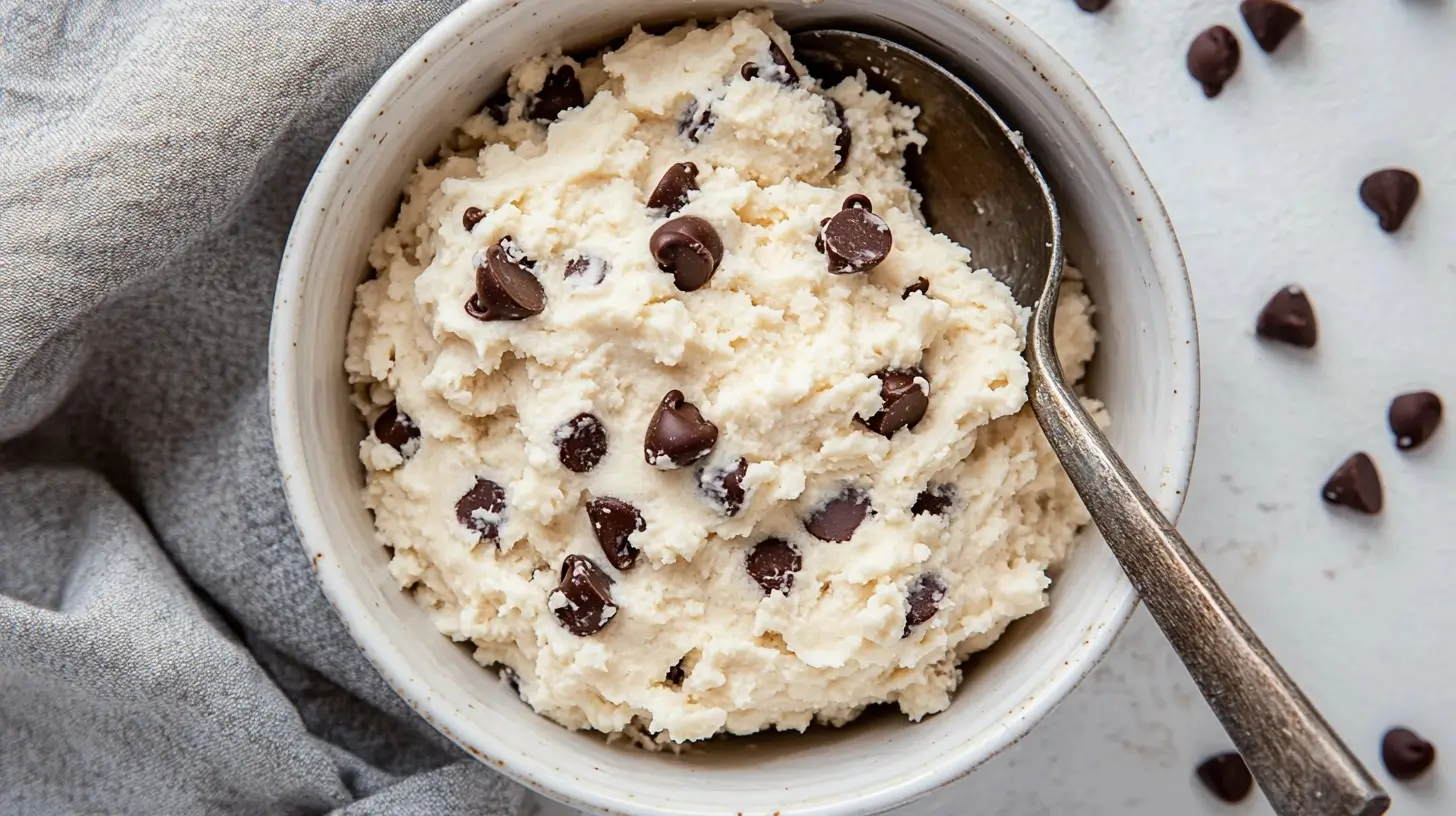
If you’re tired of the same old cookie dough recipes and want to try something a little different, you’re in for a treat! Imagine creating a soft, chewy cookie dough that’s packed with protein and goodness—yes, we’re talking about cottage cheese cookie dough. This simple recipe is a game-changer for anyone craving a healthier, yet equally delicious, alternative to traditional cookie dough. And the best part? It’s so easy to whip up in no time, even if you’re not a seasoned baker.
Now, here’s the exciting part: cottage cheese adds a delightful richness to your dough while cutting down on sugar, making it a great option for anyone looking to enjoy a healthier snack. Plus, it’s super versatile—add chocolate chips, fruit, or even a dash of cinnamon to create your perfect cookie. You’re going to love this! So, keep reading to learn how to make your own cottage cheese cookie dough and enjoy the sweet, guilt-free goodness today!
How to Make Cottage Cheese Cookie Dough from Scratch
Preparing the Base: The Key Ingredients for a Perfect Dough
Making cottage cheese cookie dough starts with a few simple ingredients. First, grab some fresh cottage cheese—this will provide the perfect creamy texture and subtle flavor. Next, mix in sugar, flour, and a pinch of salt to balance the sweetness. Butter adds richness, while a dash of vanilla will give it that cozy, homey flavor. Don’t forget the egg, which will help bind everything together and create a smooth dough. With these ingredients, you’ll have the base for the most amazing cookies you’ve ever tasted. It’s really that simple! Combine them in the right proportions and get ready to make something fantastic.
Mixing Techniques to Ensure a Soft and Chewy Texture
Once you’ve got all the ingredients, it’s time to mix them together. The key is to blend everything just enough—not too much! Overmixing will lead to tough cookies. First, blend your wet ingredients together until smooth. Then, add the dry ingredients and fold them in gently. Be sure not to stir too vigorously. Soft dough makes soft cookies, so treat it with care. Use a spatula or spoon to mix and scrape the bowl to ensure even distribution. This will help you get that irresistible chewy texture. Here’s a simple table to keep track of the dough-making steps:
| Step | Action | Tip |
|---|---|---|
| 1. Combine Wet Ingredients | Mix cottage cheese, butter, and egg | Don’t overmix |
| 2. Add Dry Ingredients | Gradually add flour, sugar, and salt | Fold gently, don’t stir hard |
| 3. Mix Together | Fold until just combined | Soft dough = soft cookies |
Alternative Flavor Options to Enhance Your Cottage Cheese Cookies
Incorporating Sweet and Savory Flavors into the Dough
One of the coolest things about cottage cheese cookie dough is how easily it can be customized. If you want to add some extra flair, why not try mixing in a bit of cinnamon or nutmeg for a warm spice twist? You could even throw in some finely chopped nuts, like walnuts or almonds, for a crunchy texture. Or, take a savory route by adding herbs like rosemary or thyme for a unique, herby touch. Cottage cheese pairs well with both sweet and savory, making it perfect for creating a cookie that’s all your own. There are endless options to explore, so feel free to get creative!
Using Natural Add-ins for a Personal Touch
You can also enhance your cottage cheese cookies by incorporating all-natural ingredients. Some great ideas include adding:
- Dried fruit like cranberries or raisins
- Dark chocolate chips for a rich, indulgent flavor
- Oats for a wholesome, chewy bite
- Fresh orange zest to brighten up the taste
These add-ins let you make the cookies your own. Whether you’re craving something fruity, chocolaty, or nutty, these natural options will take your cookies to the next level. It’s so easy to adjust the dough to fit your tastes—you’re in control of every delicious detail! Here’s a quick table with ideas for add-ins:
| Add-in Option | Flavor Profile |
|---|---|
| Dried fruit | Sweet and chewy |
| Dark chocolate chips | Rich and indulgent |
| Oats | Wholesome, chewy texture |
| Orange zest | Bright, refreshing flavor |

The Health Benefits of Cottage Cheese in Cookie Dough
Cottage Cheese as a Source of Protein in Baking
Cottage cheese is not just a tasty ingredient—it’s also packed with protein! When added to your cookie dough, it provides a rich, creamy texture while boosting the protein content of your cookies. This means you’ll feel fuller and more satisfied after enjoying your cookies. Cottage cheese has fewer calories and more protein than many other ingredients like butter or cream. It’s the perfect way to sneak in some extra nutrition while still enjoying a delicious treat. So, not only are your cookies delicious, but they’re also healthier, giving you a guilt-free snack. Plus, who doesn’t love getting a little extra protein into their diet?
Lowering Sugar Content with Cottage Cheese: A Healthier Cookie Option
Using cottage cheese in your cookie dough isn’t just about protein. It also helps lower the overall sugar content, making it a healthier option. Since cottage cheese is naturally low in sugar, it balances out the sweetness of the dough, so you don’t need to add as much sugar. This is great if you want to make cookies that are satisfying without being overly sugary. Here’s a list of benefits of using cottage cheese in your cookie dough:
- Reduces the need for excess sugar
- Adds natural creaminess without extra fat
- Helps maintain a soft, chewy texture
- Provides additional nutrients like calcium and probiotics
By using cottage cheese, you’re making your cookies both healthier and tastier! A perfect balance of flavor and nutrition, all in one bite.
Tips for Perfectly Baked Cottage Cheese Cookies
Achieving the Right Cookie Consistency
To make your cottage cheese cookies just right, you’ll need to get the consistency perfect. First, make sure your dough isn’t too sticky. If it is, just add a little more flour. On the other hand, if your dough is too dry, you can add a spoonful of milk to bring it together. The ideal dough should be slightly sticky but still manageable. Also, when scooping your dough, be gentle. Use a spoon to drop rounded mounds onto the baking sheet, ensuring they don’t spread too thin during baking. This will help maintain that chewy texture everyone loves.
Common Baking Mistakes to Avoid
Baking is an art, but sometimes mistakes happen! Here are some common ones to avoid:
- Overmixing the dough: It can make your cookies tough.
- Baking at too high a temperature: This can cause uneven baking.
- Not cooling the dough: Allow it to rest for a few minutes before baking for better texture.
- Overcrowding the baking sheet: Give each cookie enough space to spread and bake evenly.
These little mistakes can affect your cookies, so be mindful of them to get the perfect batch every time. Here’s a table to help:
| Mistake | Solution |
|---|---|
| Overmixing the dough | Mix until just combined |
| Too high of a baking temp | Bake at the correct temperature |
| Not cooling dough | Let dough rest for a few minutes |
| Overcrowding the sheet | Space cookies apart for even baking |
Storing and Freezing Cottage Cheese Cookie Dough for Later Use
How to Store Unbaked Cookie Dough for Future Use
If you want to store your cottage cheese cookie dough for later, you can easily do so! Simply wrap the dough tightly in plastic wrap or place it in an airtight container. Store it in the fridge for up to 3 days. If you want to keep it longer, freezing is a great option. Just scoop the dough into individual cookie portions and freeze them on a baking sheet for an hour before transferring them to a freezer bag. When you’re ready to bake, just pull them out and bake straight from frozen.
Freezing the Dough for Long-Term Storage
Freezing is the best way to keep your dough fresh for weeks! Here’s how to freeze your dough properly:
- Scoop dough portions onto a baking sheet
- Freeze them for 1 hour until firm
- Transfer to a freezer bag or airtight container
- Label with the date for future reference
This method allows you to bake fresh cookies anytime, without the hassle of making dough from scratch every time! Freezing is the perfect way to have cookie dough ready for those spontaneous cravings. Here’s a chart to guide you:
| Step | Action | Tip |
|---|---|---|
| 1. Scoop Dough | Portion into cookie shapes | Don’t let them touch each other |
| 2. Freeze for 1 Hour | Freeze until firm | Keeps them from sticking together |
| 3. Transfer to Freezer Bag | Store for long-term use | Label with date for easy reference |
Now that you’ve got all the details on the magic of cottage cheese in your dough, let’s take it to the next level with a fun, fruity twist—introducing the Berry Cookie Cups! Get ready to bake something sweet and oh-so-delicious!

Ingredients
Let’s dive into the ingredients that make these Berry Cookie Cups so scrumptious and fun to make!
- 16-ounce package refrigerated sugar cookie dough (24 count) – This is the starting point for your cookie cups. Instead of a regular dough, you’re using an easy pre-made sugar cookie dough to save time. Plus, it’s sweet, soft, and perfect for shaping into little cups!
- 22-ounce can mixed berry pie filling – Now comes the fruity goodness! The mixed berry filling brings a vibrant burst of flavor with blueberries, strawberries, and raspberries. It adds sweetness and juiciness, making these cups irresistible.
- 1 cup powdered sugar – The powdered sugar is the secret to making the glaze smooth and sweet. It will provide just the right amount of sweetness without being overpowering.
- 2 ½ tablespoons heavy cream – This is what turns your powdered sugar into a smooth, velvety glaze. The cream adds a rich, luxurious texture that coats the berries beautifully.
- 1 teaspoon vanilla extract – A splash of vanilla adds a warm, comforting flavor that ties everything together. It’s like the cozy finishing touch to your delicious cookie cups!
Now that we have all the ingredients ready, it’s time to jump into the fun part – making these amazing treats!
Step-by-Step Instructions
Let’s walk through the steps to create these delicious Berry Cookie Cups. Each step brings us closer to the final, irresistible result.
- Step 1 – Preheat your oven to 350°F (175°C). This step is essential because you want the oven nice and hot to bake the cookie dough evenly, ensuring that the cups turn out golden and crispy.
- Step 2 – Next, grease your muffin tin to prevent the cookie cups from sticking. This step is super important so that you can easily remove your finished cups and keep them intact.
- Step 3 – Now, break off pieces of the refrigerated sugar cookie dough and press each one into the muffin tin to form little cups. Don’t worry about perfection here—just aim for a little hollow space in the middle to hold the berry filling later. The dough will spread as it bakes!
- Step 4 – Bake the cookie cups for 10-12 minutes or until they are golden brown around the edges. While the dough bakes, the little cups will form perfectly to hold the berry filling.
- Step 5 – While the cookie cups are cooling, whisk together the powdered sugar, heavy cream, and vanilla extract to make the glaze. Once the cookie cups are cool, drizzle this creamy glaze on top for a smooth, shiny finish that will make them even more irresistible!
Serving
It’s time to serve your berry-filled cookie cups! These treats are best enjoyed right after assembling, but they can also be stored for later.
- This recipe serves 12 people – Perfect for sharing at a party or with friends and family. You’ll be the star of the dessert table!
- How to serve – Serve these cookie cups as they are, warm with the glaze on top. They’re a perfect treat on their own, or you can pair them with a side of fresh whipped cream for extra indulgence.
- Optional garnishes or pairings – For an extra touch, you can sprinkle a little extra powdered sugar on top or garnish with a fresh mint leaf. They also go great with a chilled lemonade or tea for a refreshing contrast!
What to Serve with Berry Cookie Cups
- Purple Black Bean Soup Recipe – A hearty, healthy soup perfect for pairing with a sweet treat.
- Banana Porridge Pancakes – These fluffy pancakes are a great complement to your dessert!
- Chocolate Chocolate Chip Pancakes – Sweet, indulgent pancakes that perfectly match the berry-filled cookie cups.
- Chicken Salad with Apples – A light, savory option that balances the sweetness of the cookies.
Tips and Hacks
Want to make these cookie cups even better? Here are some fun tips and tricks to take your recipe to the next level.
- Tip 1 – For a twist on flavor, try swapping out the berry filling with other fruit fillings, like peach or cherry. You can even mix fruits together for a unique combination!
- Tip 2 – To enhance the flavor, add a pinch of cinnamon to the glaze for a warm, spiced note that complements the berries.
- Tip 3 – You can also make these cookie cups gluten-free by swapping the sugar cookie dough for a gluten-free version. There are plenty of tasty gluten-free doughs available at the store.
- Tip 4 – If you’re short on time, you can prepare the cookie cups ahead of time. Just store the baked cookie cups in an airtight container and fill them with the berry pie filling and glaze right before serving.
Nutrition Facts
Here’s a quick look at the nutrition for each serving of your Berry Cookie Cups:
- Serving size: 1 cookie cup
- Calories: 150
- Fat: 7g
- Carbs: 22g
- Protein: 1g
- Sodium: 50mg
- Fiber: 1g
Please note: These estimates are based on ingredient brands, portion sizes, and preparation methods. Nutrition values may vary slightly.
Prep Time
- Prep time: 10 minutes
- Cook time: 12 minutes
- Total time: 22 minutes
Please note: Prep time may vary depending on your familiarity with the recipe and oven efficiency.
Frequently Asked Questions (FAQs)
Can I freeze my cottage cheese edible cookie dough?
Yes, you can freeze cottage cheese edible cookie dough! First, scoop out small portions and place them on a baking sheet. Then, freeze them for about an hour. Once firm, transfer them to a freezer-safe bag or container. When you’re ready, you can bake or enjoy them as is. It’s a great way to have a delicious treat ready whenever you need it!
How to eat cottage cheese edible cookie dough?
Eating cottage cheese edible cookie dough is simple and fun! First, scoop out a small amount with a spoon. Then, enjoy it as a snack straight from the bowl or dish. You can also chill it in the fridge for a firmer texture. It’s a great way to enjoy a sweet treat while getting some extra protein. You’re going to love this!
What are some good mix-ins to add to this high-protein edible cookie dough?
There are so many fun mix-ins for cottage cheese edible cookie dough! You could try adding chocolate chips for a classic touch. Or, throw in some chopped nuts like almonds or walnuts for crunch. Dried fruit like cranberries or raisins also works wonderfully. In addition, a sprinkle of cinnamon or a few spoonfuls of peanut butter can add extra flavor. The possibilities are endless!
How to store extra cottage cheese cookie dough?
Storing extra cottage cheese cookie dough is super easy! First, scoop the dough into portions or wrap it tightly in plastic wrap. Then, place it in an airtight container or freezer bag. Store it in the fridge for up to a few days, or freeze it for longer. When you’re ready to bake or eat, simply pull it out and enjoy your dough without any hassle!